Samsung LMS700KF07 / 32V3H-H6A Autopsy
So, the display is borked and isn’t coming back. What to do? Tear it apart, figure out how it works, and document it to make troubleshooting easier for the next person, that’s what. Here we go…
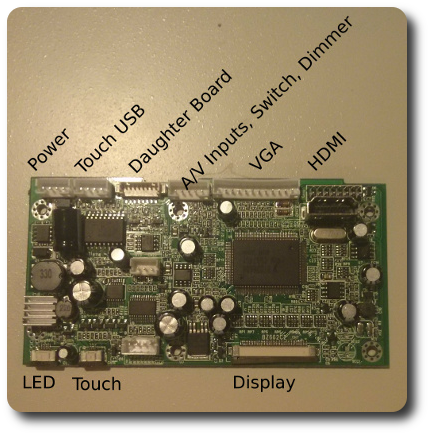
We’re going in cable order on the control board. Starting all the way on the end of the board, we have a 6-wire ribbon with a notch on the end. This ribbon goes up to the LED, which is the bottom layer of the display sandwich.
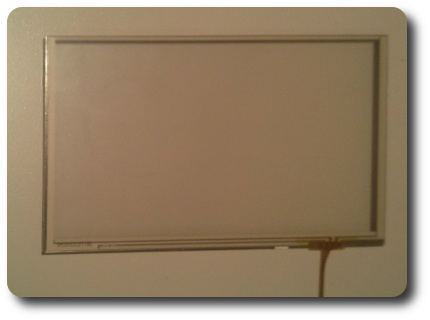
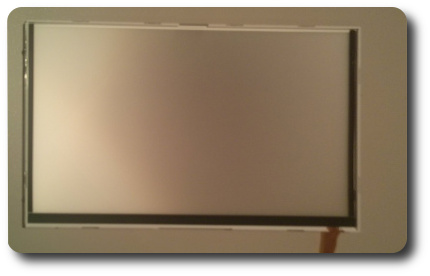
Right next to that, we have a 4-wire ribbon with a white tab on the end. This one goes to the resistive touch sensor. If I really wanted to, I could use this and the control board as the world’s most ridiculous touchpad. Being that this is the part you touch, this is of course the top layer of the display sandwich.
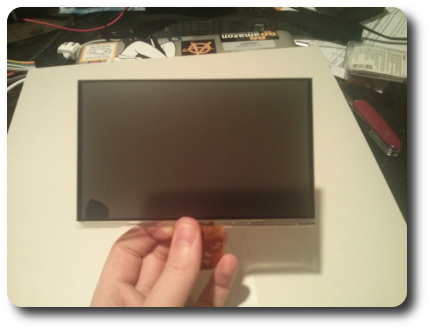
Here we have the heart of the display, the LCD. It has the fat ribbon cable with a bunch of components etched into copper foil embedded in it. No, the cable isn’t supposed to be torn off like that. Oops. The actual end is dark brown with a white stripe on it.
Those who have worked with broken LCDs before will recognize the dark spot in the lower left corner. Besides tearing the ribbon when it fell off my desk, the LCD also cracked and spilled out some of those tasty liquid crystals. Even if I could surgically reattach the ribbon cable, this LCD will always have an ugly blotchy spot in the corner. No thanks.
Being that the LCD is the most fragile component (obviously) and needs light from the LED to pass through it and then through the resistive overlay, the LCD is of course the gooey center of the display sandwich.
There you have it. Autopsy of a cheap eBay touchscreen.